Полная разборка Canon Bubble Jet S520
Окончание разборки струйного принтера от компании Кэнон - полная и подробная, максимально иллюстрированная...
Canon S520 - разборка принтера
С небольшим перерывом продолжаю тему по принтеру Canon Bubble Jet S520 (смотрите начало по ссылке), теперь настало время разобрать его к чертовой бабушке, посмотреть из чего он состоит и все такое прочее.
Так как принтер и большой и качественно сделанный, разборка его тоже не самое простое дело... особенно с непривычки. Фотографии 2014 года, переснять что-то уже нет возможности, выкладываю то, что есть.
+ Щелкайте по фото, чтобы увеличить!
Пропуская шаги...
Не все фотографии получились... да и в первой части уже часть разборки описана. В том числе разборка блока питания Canon K30171. Разборка печатающей головки и чернильниц, инструкция по заправке и обнулению картриджей.
Здесь я приведу те моменты, которые там не успел сделать.
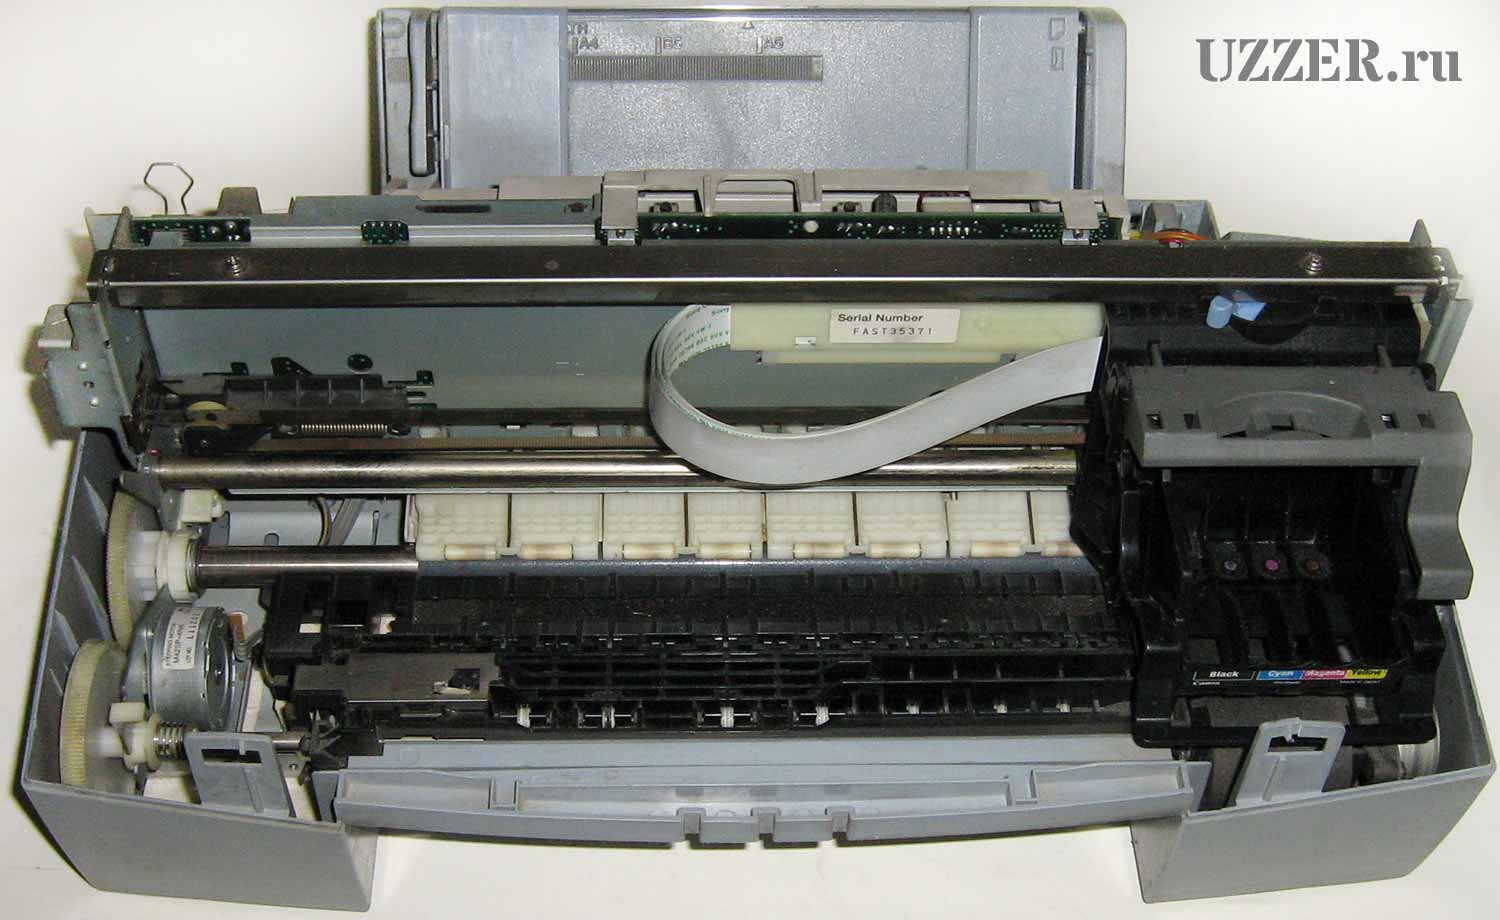
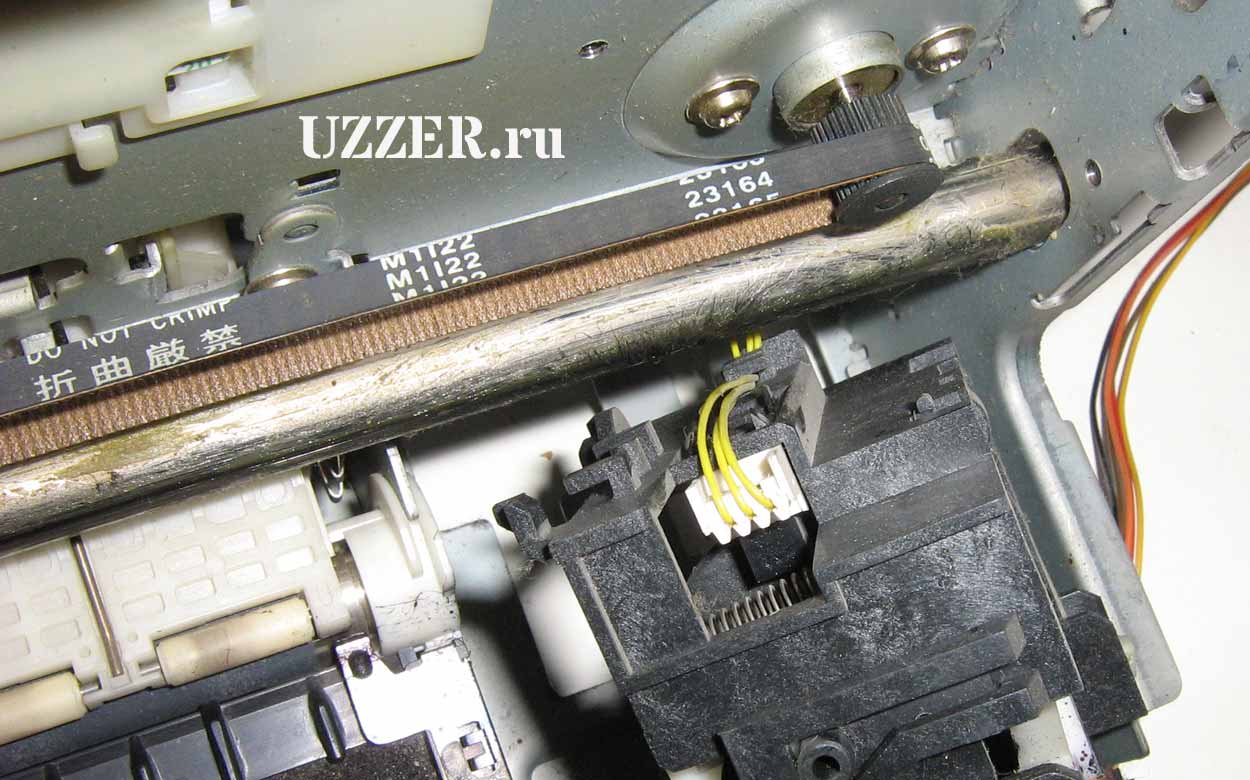
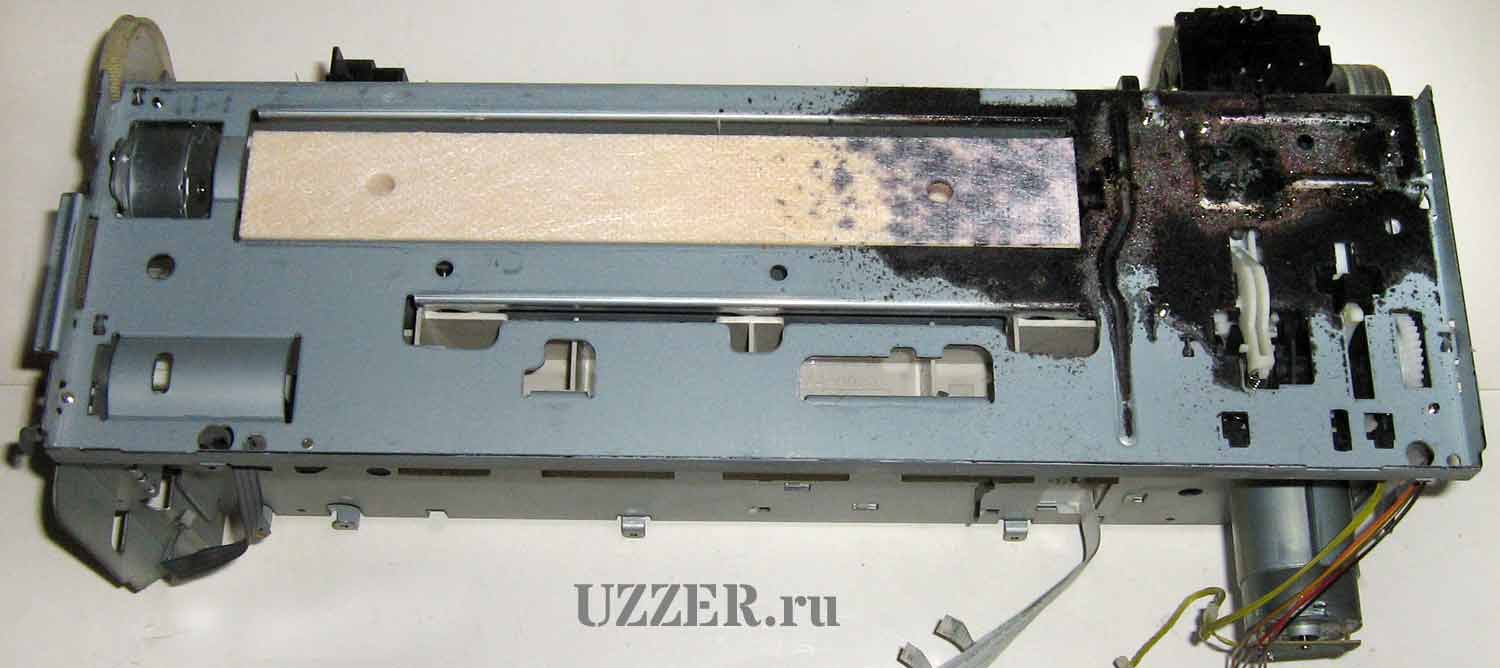
Итак - верхняя часть корпуса снята, справа припаркована печатающая головка, чернильницы убраны. Слева видим электродвигатель - он выполняет ряд функций: протяжка бумаги, герметичное закрытие сопел печатающей головки, работа помпы по очистке печатающей головки.
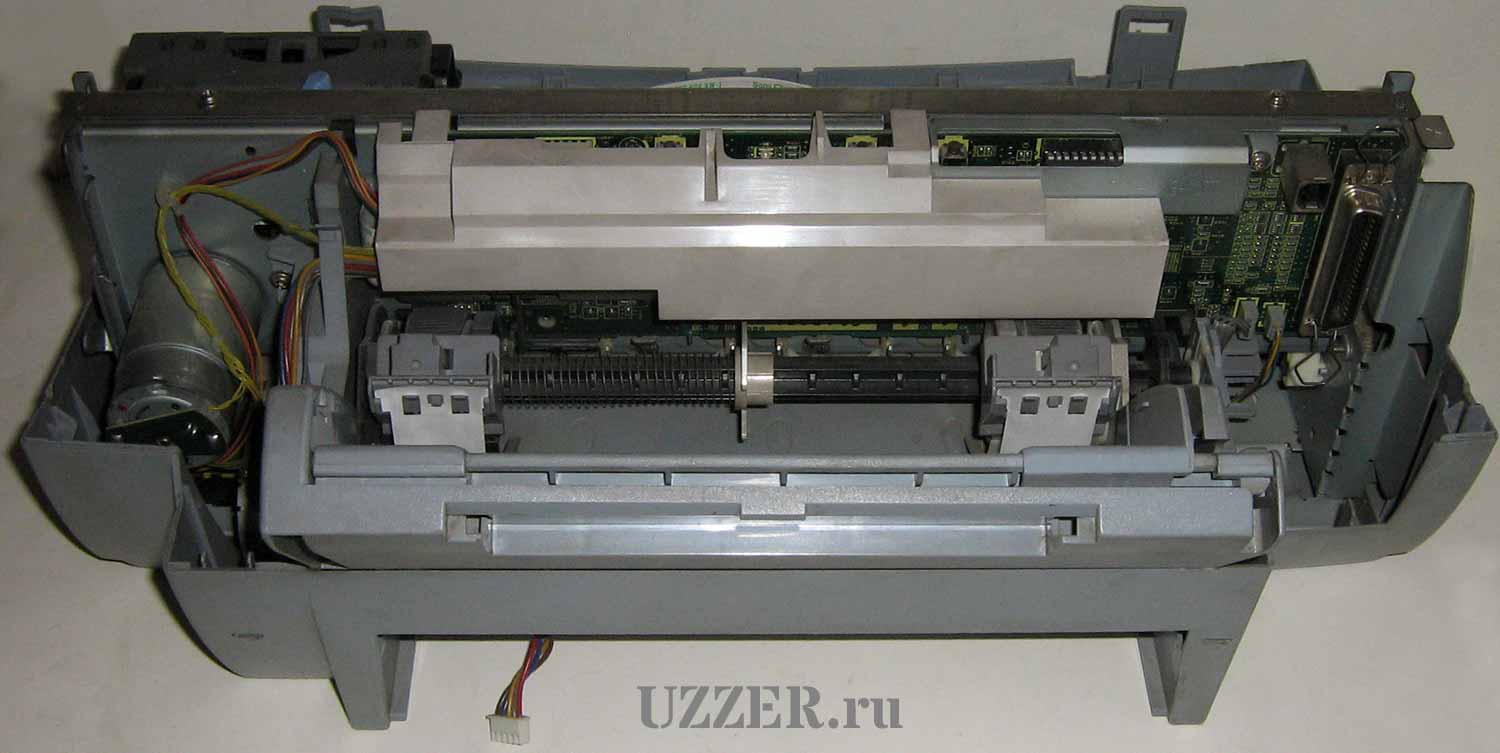
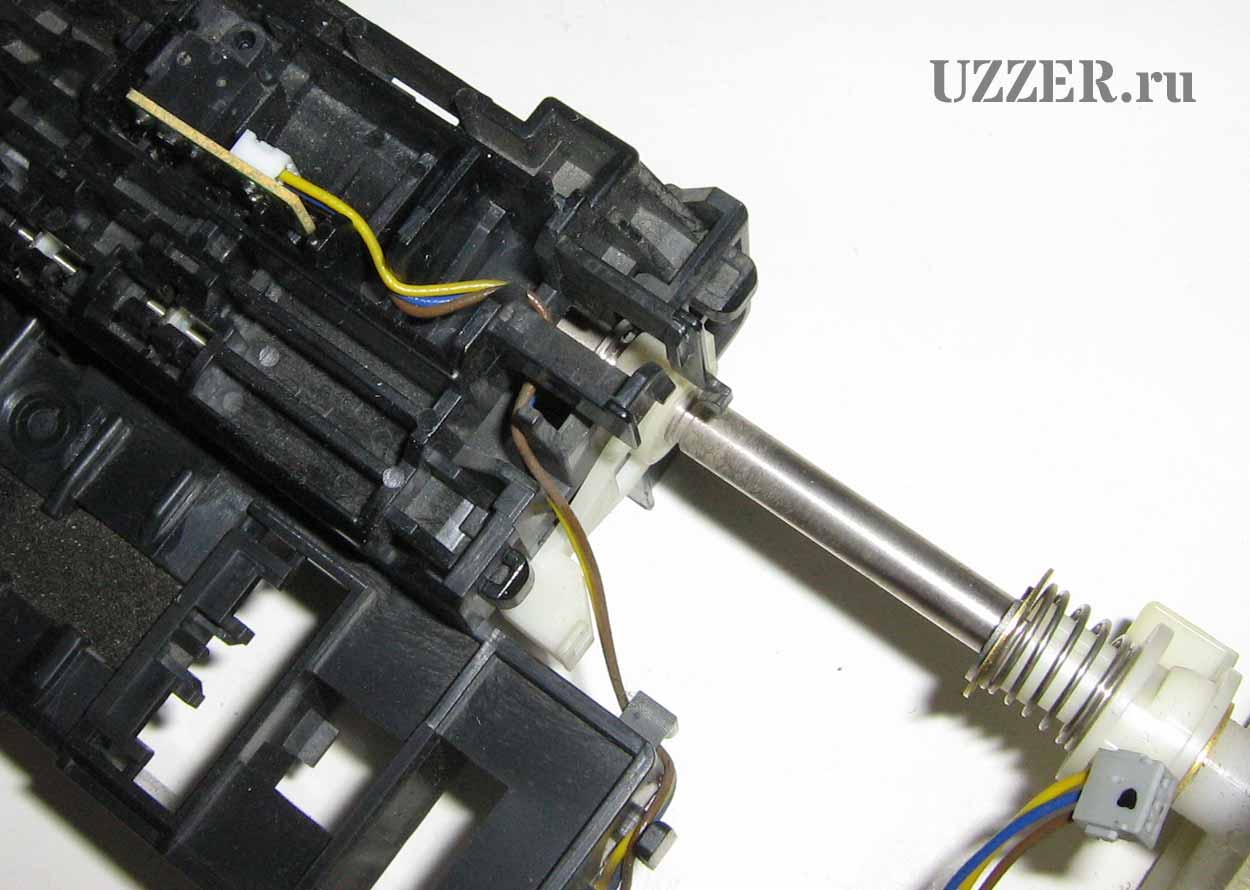
Это вид с задней стороны - со стороны лотка подачи бумаги. Слева видим шаговый электродвигатель - он двигает печатающую головку, паркует её.
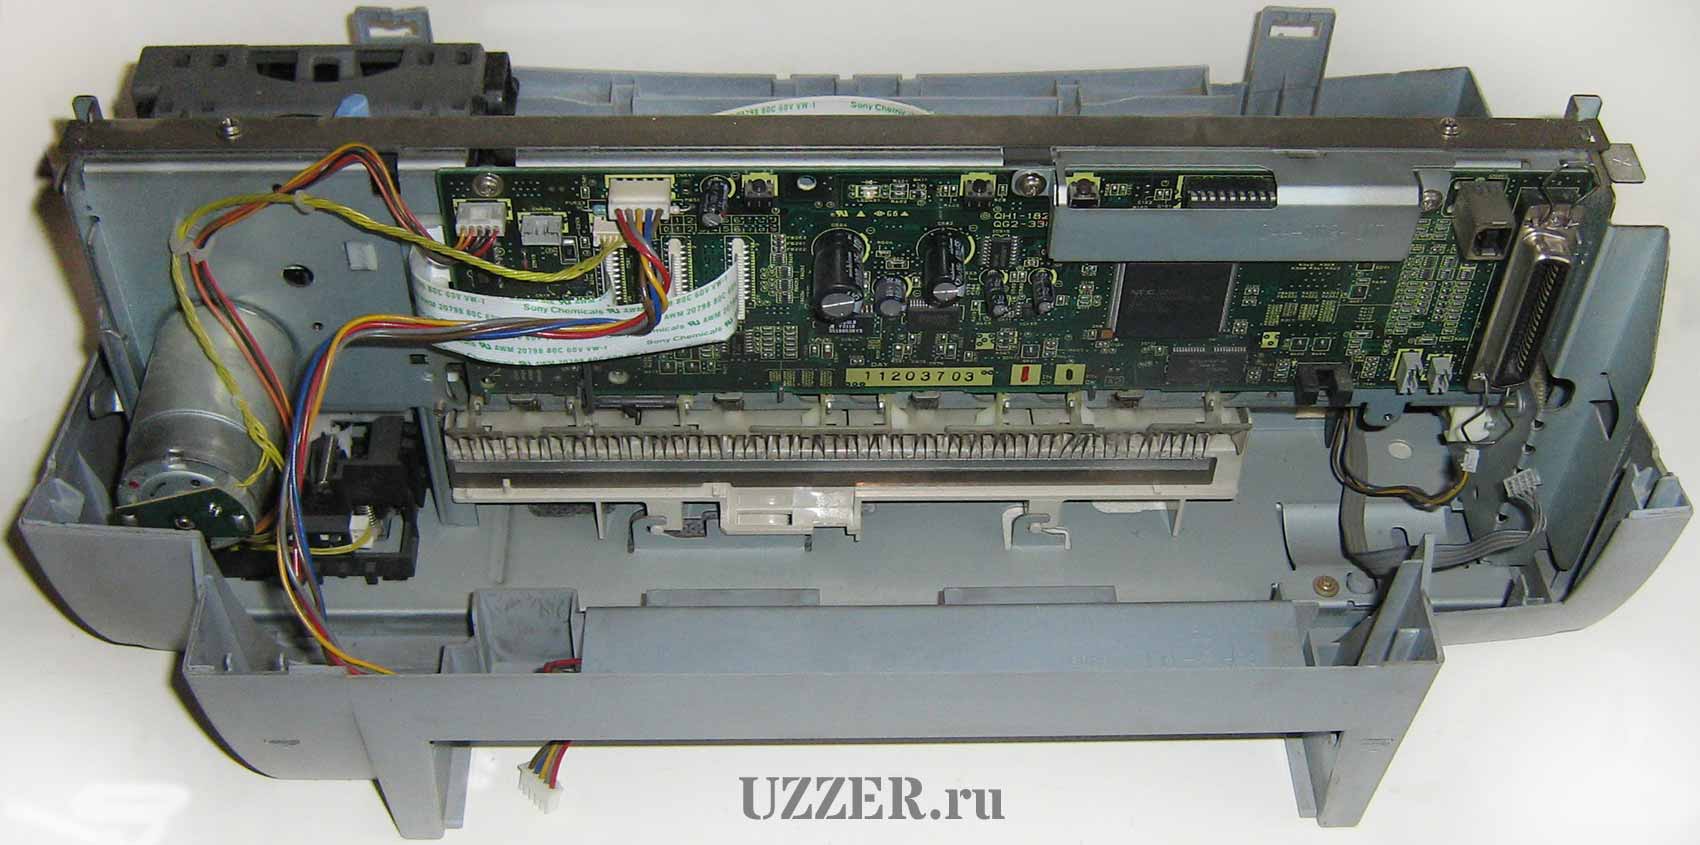
Убираем этот лоток и пластмассовый защитный элемент - закрывает разъемы. Видим системную плату принтера.
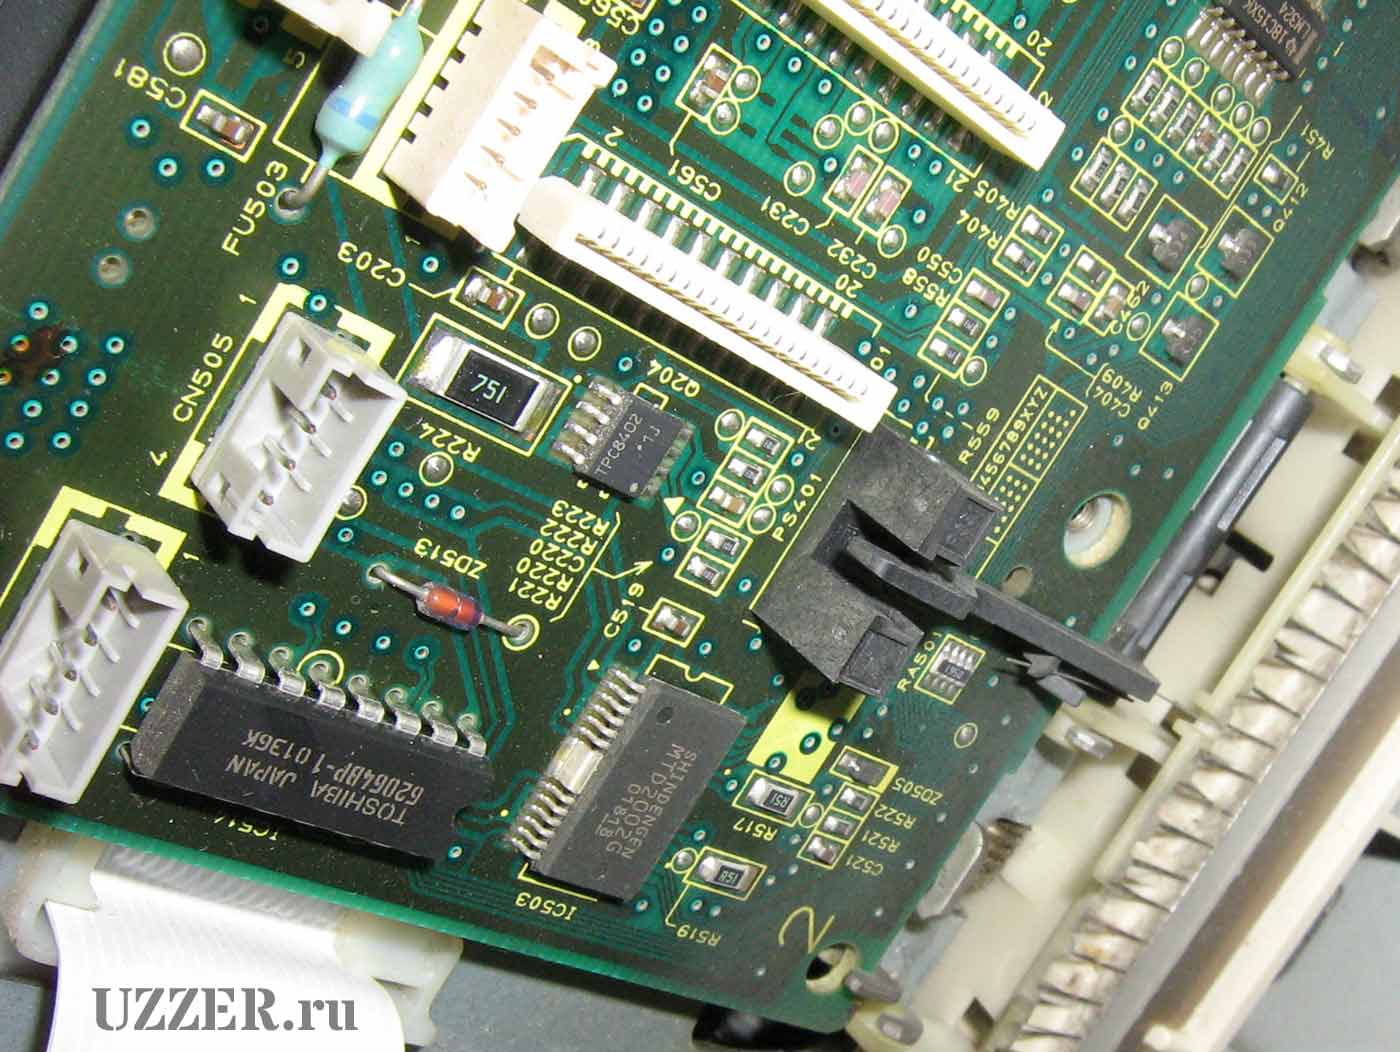
Это достаточно большая плата электроники, на текстолите маркировка: QH1-1826-02 QG2-3383. Процессор на плате NEC - а точная маркировка, неизвестна - на фото не получилась... На плате есть микросхемы:
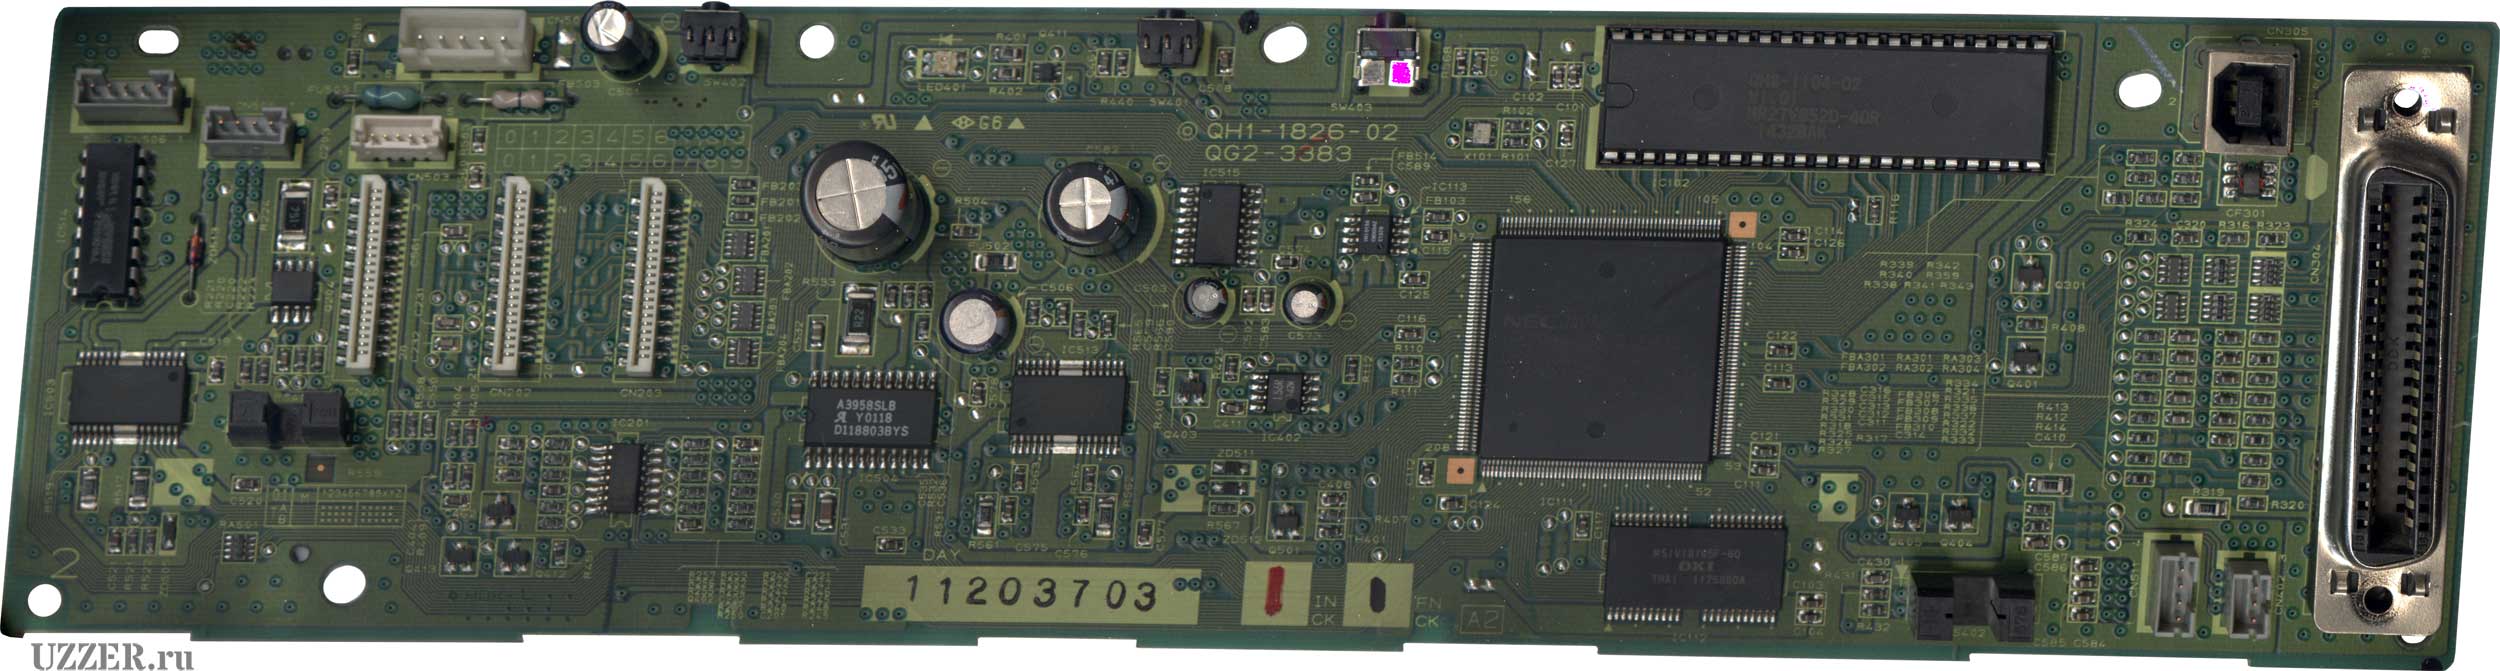
LM324 счетверенный операционный усилитель
TPC8402 транзистор МОСФЕТ
Toshiba 62064BP-1 высоковольтный, сильноточный драйвер Дарлингтона
Shindengen MTD2002G управление питанием
A3958SLB - ШИМ-контроллер от Allegro MicroSystems
OKI M51V18165F-6Q чип оперативной памяти
MR27V852D-4OR большая микросхема чип постоянной памяти
На плате мы видим LPT и USB - разъемы для подключения к компьютеру. На плате есть 5-контактный разъем, промаркированный как CN501 - сюда подключается питание от БП.
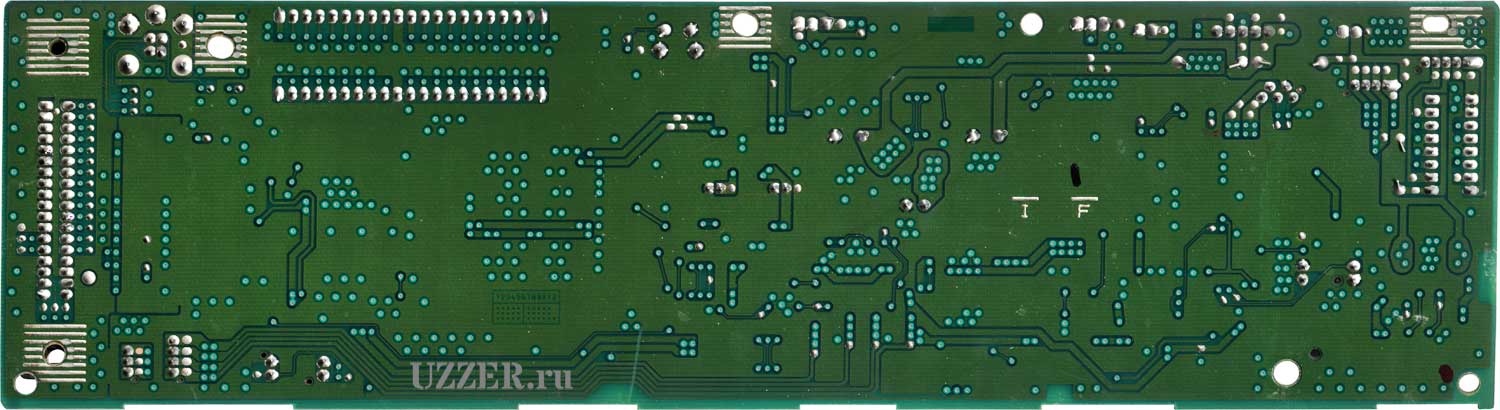
Обратная сторона платы - элементов нет.
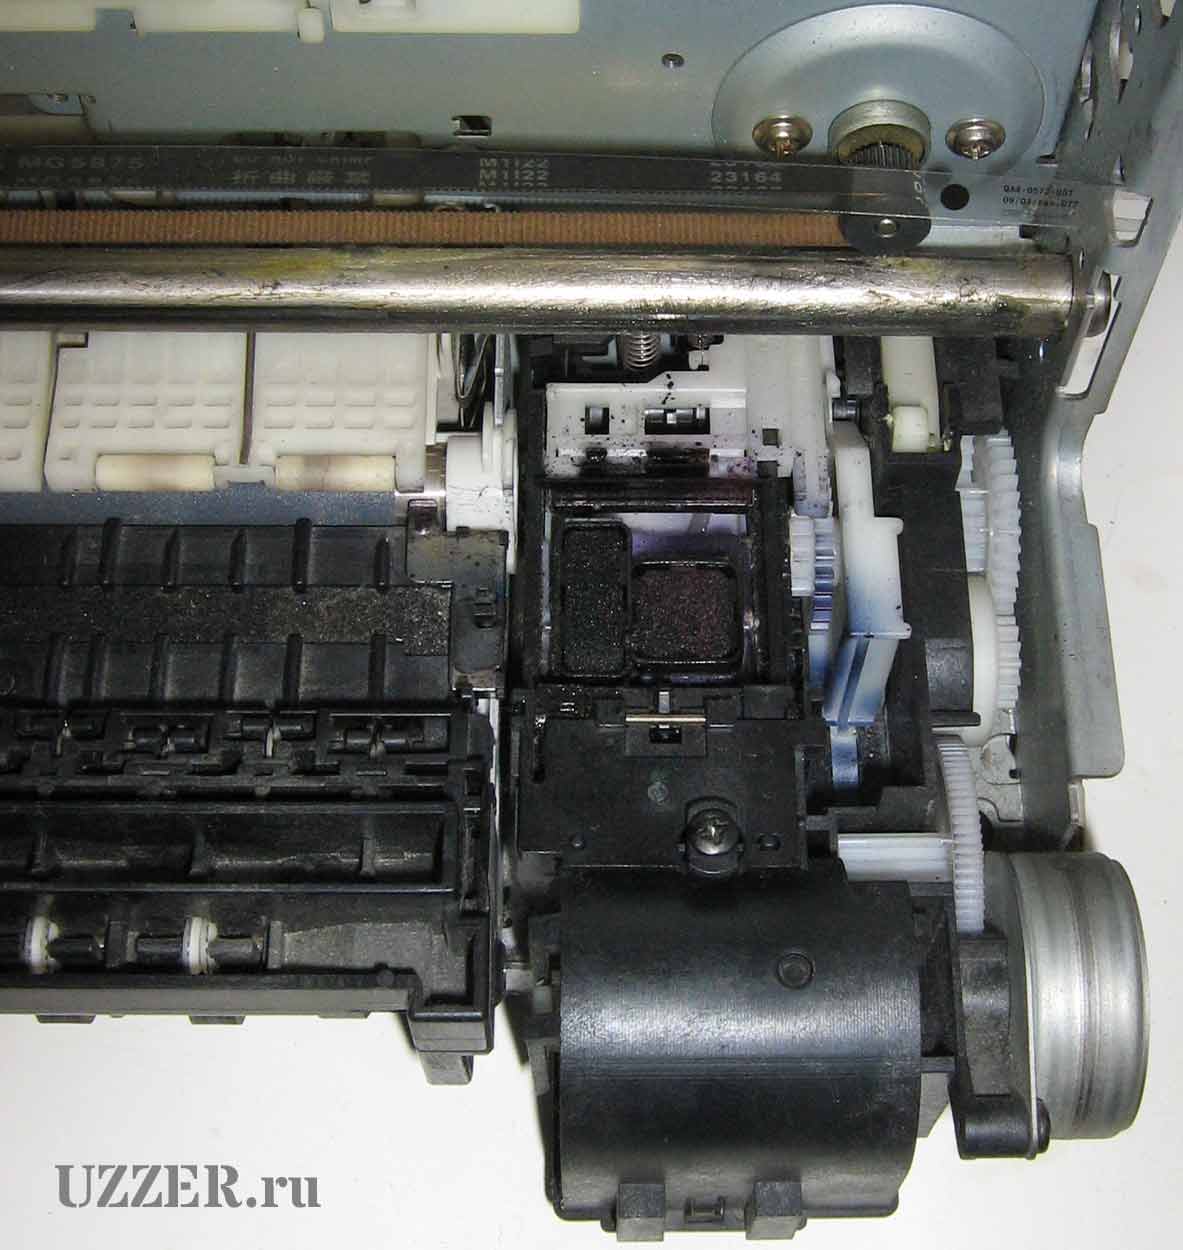
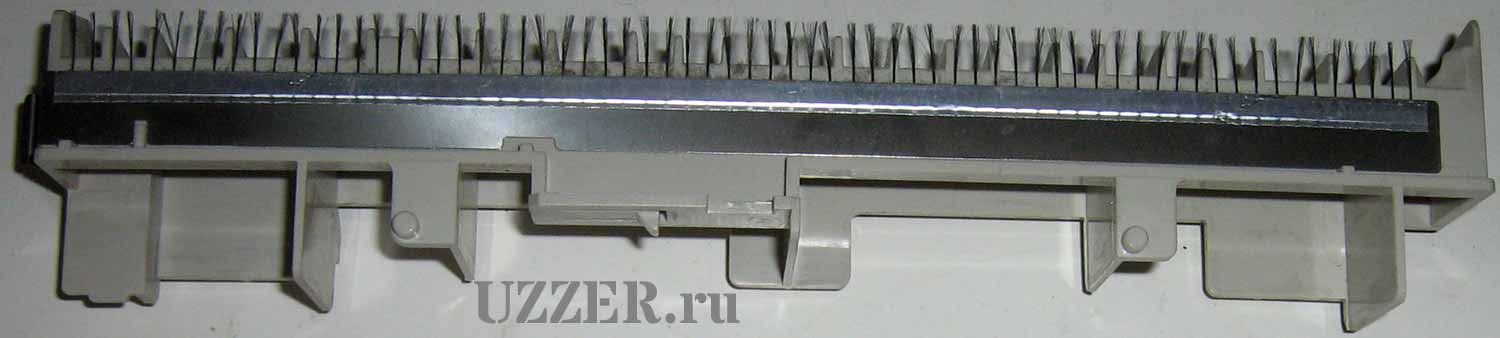
Парковочное место головки и элементы её очистки.
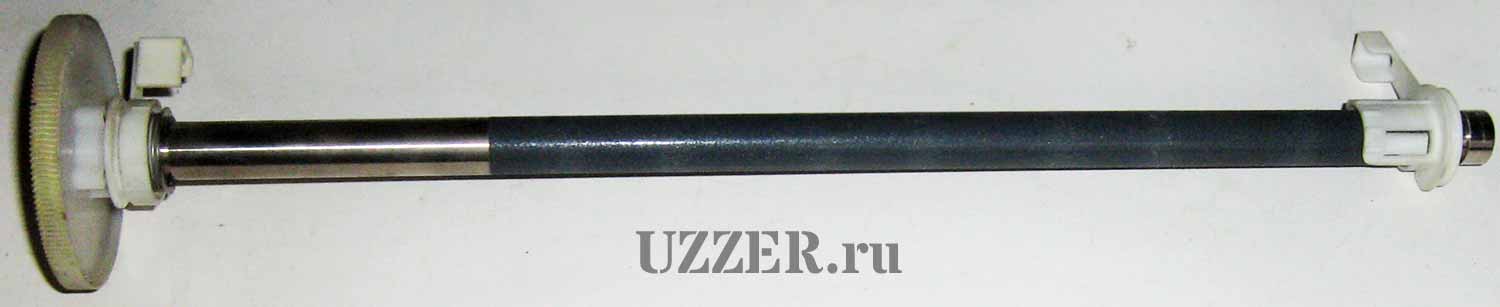
Зубчатый ремень, который двигает каретку печатающей головки.
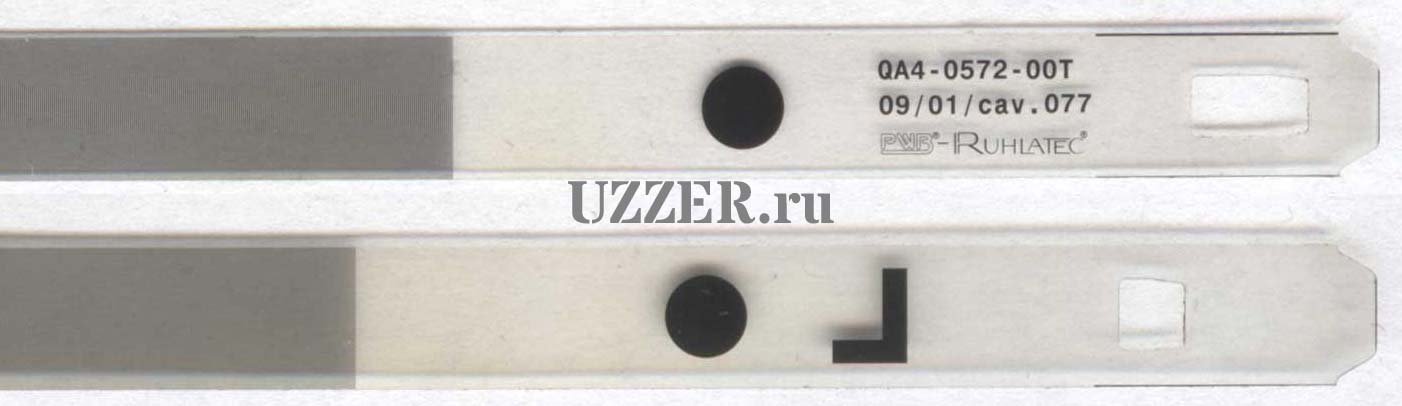
Это лента со штрихами, которые позиционируют печатающую головку по горизонтали.
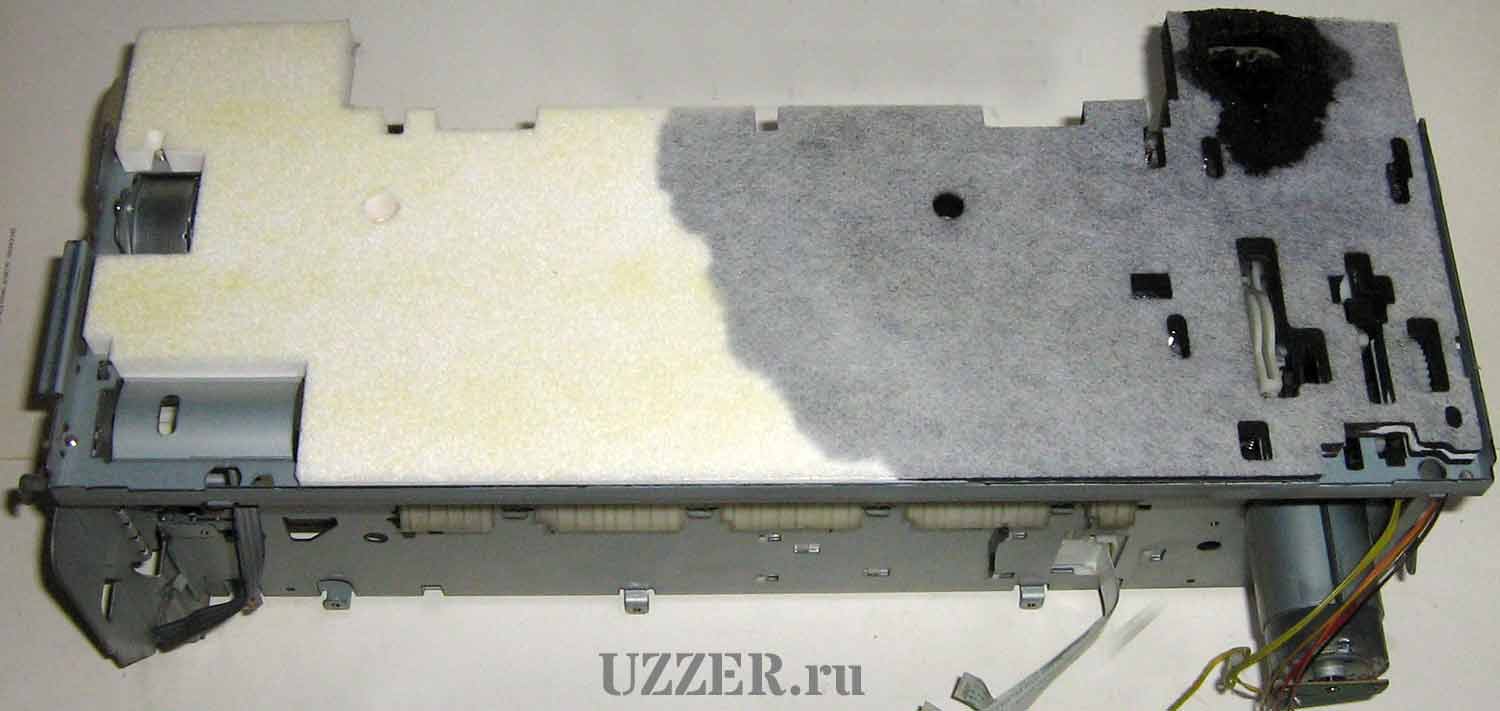
Убираем нижнюю часть корпуса принтера, переворачиваем - а вот тот самый памперс, который впитывает все излишки чернил...
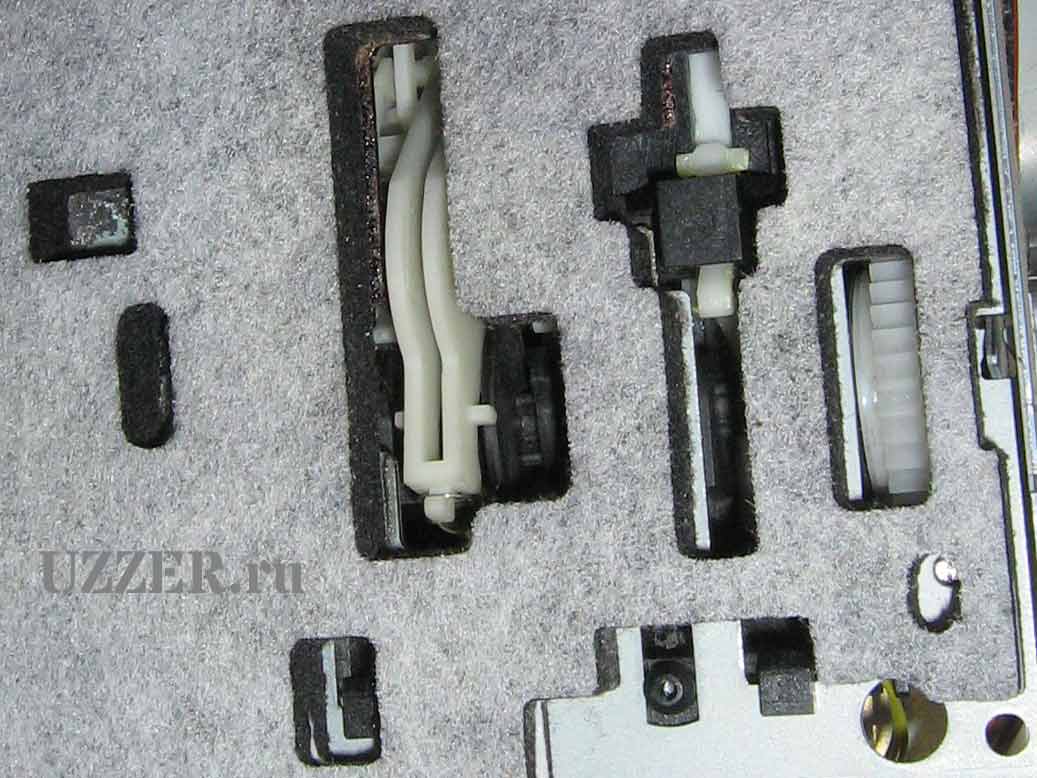
Вот отдельные элементы на нем...
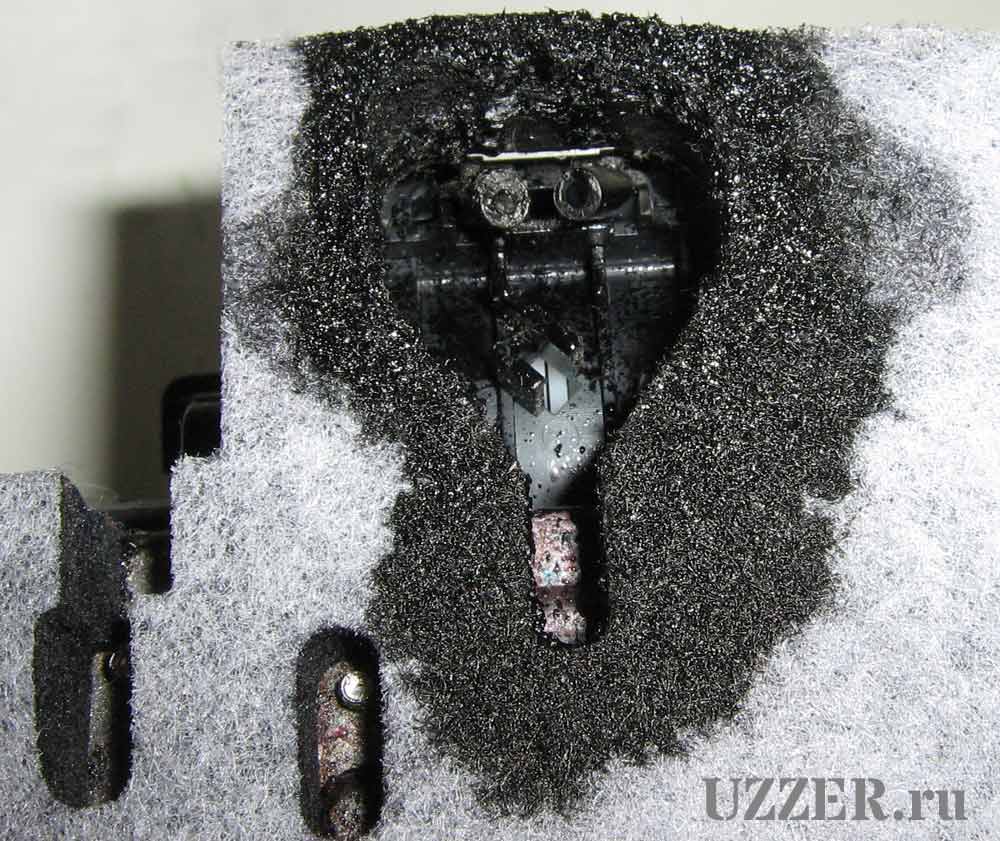
Как видим - принтер хорошо потрудился - все залито высохшими чернилами...
Ну и прочие элементы принтера.
Окончание
На этом обзор и разборку струйного принтера Canon Bubble Jet S520 считаю законченной... материал затянулся - более чем на 10 лет. Виной - неудачные кадры электроники. Надеялся, что мне этот принтер еще подвернется. Но, увы, по закону подлости, я больше его не встречал. Хотя этот принтер был достаточно популярным и недорогим, а значит массовым.
Разумеется, если он встретится сейчас, уже после публикации этого материала, я все равно постараюсь восполнить этот пробел, и статья будет дополнена.
Михаил Дмитриенко, Алма-Ата
uzzer.ru
17.04.2025
Canon S520 - printer disassembly
I continue the topic about the Canon Bubble Jet S520 printer with a short break (see the beginning at the link), now it's time to disassemble it to hell, see what it consists of and all that jazz.
Since the printer is large and well-made, disassembling it is also not the easiest thing... especially if you're not used to it. Photos from 2014, there is no way to retake anything, I'm posting what I have.
+ Click on the photo to enlarge!
Not all the photos turned out... and the first part already describes part of the disassembly. Including disassembly of the Canon K30171 power supply. Disassembly of the print head and ink tanks, instructions for refilling and resetting the cartridges.
Here I will give those moments that I did not have time to do there.
So - the upper part of the case is removed, the print head is parked on the right, the ink tanks are removed. On the left we see the electric motor - it performs a number of functions: paper feed, hermetically sealing the print head nozzles, and the pump operation to clean the print head.
This is a view from the back - from the side of the paper feed tray. On the left we see the stepper motor - it moves the print head, parks it. We remove this tray and the plastic protective element - it covers the connectors. We see the printer's system board. This is a fairly large electronics board, the textolite is marked: QH1-1826-02 QG2-3383. The processor on the NEC board - and the exact marking is unknown - it didn't work out in the photo... There are chips on the board:
LM324 quad operational amplifier
TPC8402 MOSFET transistor
Toshiba 62064BP-1 high-voltage, high-current Darlington driver
Shindengen MTD2002G power management
A3958SLB - PWM controller from Allegro MicroSystems
OKI M51V18165F-6Q RAM chip
MR27V852D-4OR large chip permanent memory chip
On the board we see LPT and USB - connectors for connecting to a computer. There is a 5-pin connector on the board, marked as CN501 - power from the power supply is connected here.
The back side of the board - there are no elements. Head parking place and its cleaning elements. A toothed belt that moves the carriage of the print head. This is a tape with lines that position the print head horizontally. We remove the lower part of the printer body, turn it over - and here is the same diaper that absorbs all the excess ink... Here are the individual elements on it... As we can see - the printer has worked hard - everything is filled with dried ink... Well, and other elements of the printer.
The end
I consider the review and disassembly of the Canon Bubble Jet S520 inkjet printer to be complete... the material has dragged on - for more than 10 years. The fault is the unsuccessful shots of the electronics. I hoped that I would come across this printer again. But, alas, according to Murphy's law, I have not met it again. Although this printer was quite popular and inexpensive, and therefore widespread.
Of course, if I meet it now, after the publication of this material, I will still try to fill this gap, and the article will be supplemented.
Mikhail Dmitrienko, Almaty
uzzer.ru
04/17/2025
Комментариев нет.